Pool filter repair can be a daunting task. But with the right tools and know-how, it can be a breeze. The first step is to identify the type of pool filter you have. There are three main types: sand, cartridge, and diatomaceous earth (DE).
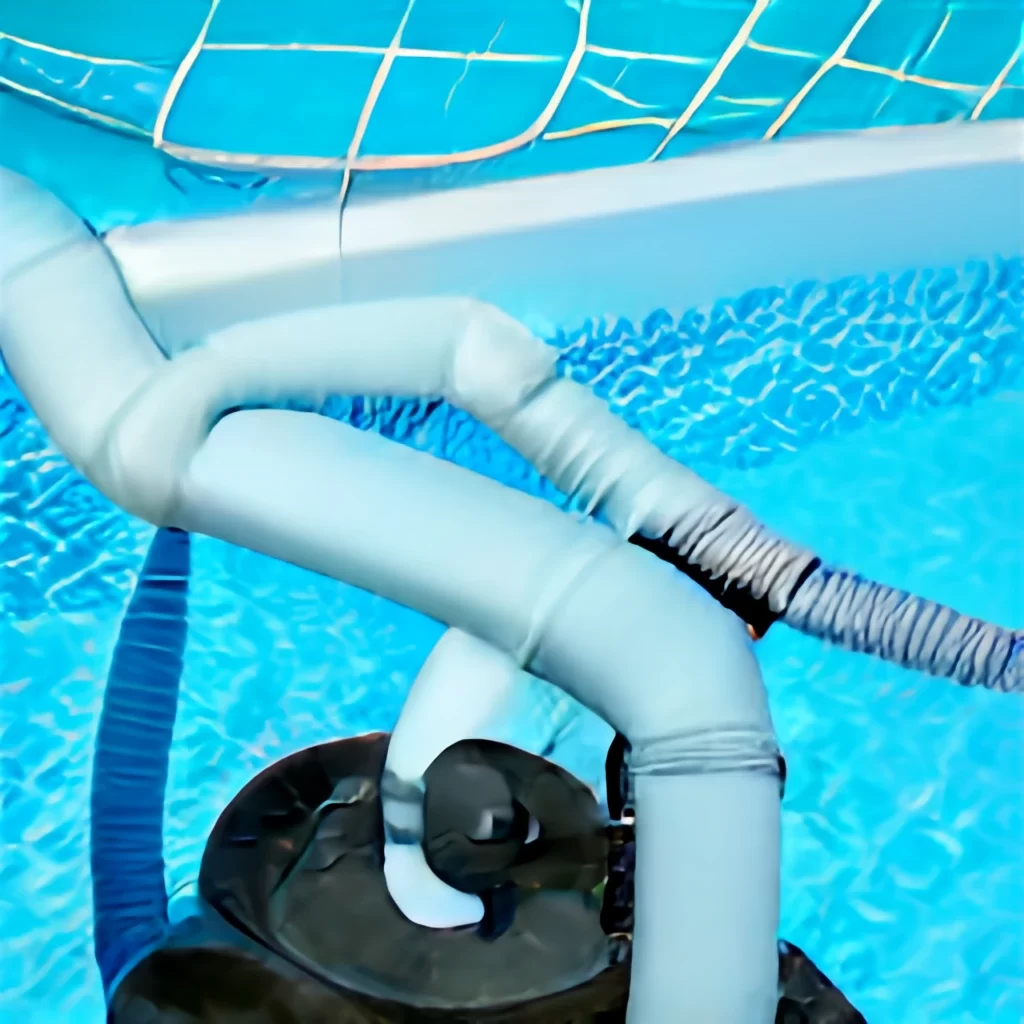
Once you’ve identified your filter type, you can find the appropriate repair kit. If you have a sand filter, for example, you’ll need a kit that includes a sand scoop, a filter brush, and a sand drain.
The repair process is fairly simple. First, remove the top of the filter housing and the lid. Next, use the scoop to remove the old sand and debris. Then use the brush to clean the interior of the housing. Finally, use the drain to release the dirty water.
Replace the old sand with new sand and reattach the lid and housing. Then run the filter for a few hours to allow the new sand to settle.
If you have a cartridge filter, the repair process is similar. First, remove the cartridge and discard any debris. Next, scrub the cartridge with a brush to remove any built-up dirt or gunk. Rinse the cartridge with water and reattach it to the filter.
If you have a DE filter, the repair process is a bit more complicated. First, remove the top of the filter and the lid. Next, use a vacuum cleaner to remove any built-up dirt or gunk from the interior of the housing. Then use a hose to rinse the housing clean.
Next, remove the DE grid and soak it in a cleaning solution. Rinse it off with water and reattach it to the housing. Finally, reattach the top of the filter and lid.
No matter what type of pool filter you have, always read and follow the manufacturer’s instructions carefully. And if you’re not comfortable doing the repair yourself, consult a professional.